So, I feel I've tumbled down some sort of rabbit hole in the last few weeks. What
started as an innocent attempt to model a room from movie has transmogrified into a headrush of new learning about the current state of the art in real-time rendering, and thus a fair amount of dissatisfaction with my current abilities. Only to be expected really!
Last post I felt like all I needed was some realistic floor reflection cubemaps. Google got me off the starting line with some christmas ornament reflection maps that sorta worked:
Which, when used as a cubic reflection map, produced this sort of look on my floor tiles:
 |
| yeah... ish |
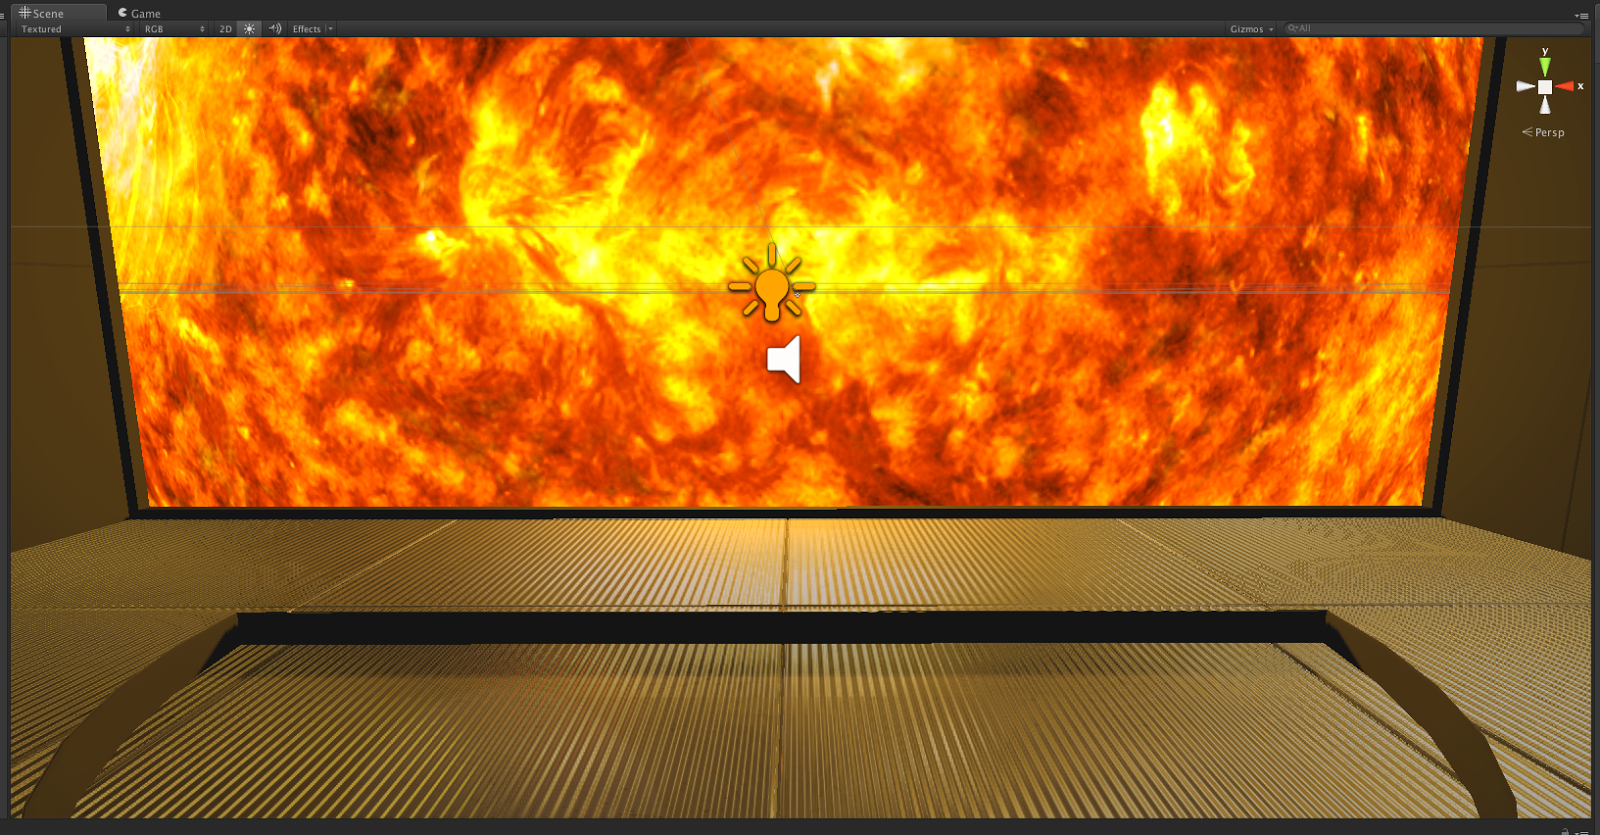
I discovered that Unity can make these rather easily internally too. By choosing a transform internally near where the viewer would be situated I can render 6 x 90° camera projections that form a box with the images that everything inside that box that was shiny would see. This is great. Now my normal-mapped floor can reflect the sun! Now my own cubic reflection map looks more like this:
Which produces reflections like these:
 |
| The actual sun reflecting on the actual floor! I'm done! ... NOT. |
But... well... this is all well and good if the floor is perfectly reflective. Which it's not. It should be covered in micro-abrasions that scatter the incoming light rays and making the reflections blurry. How can I create this in Unity? There's no 'roughness' slider in the default shaders and my metal floor is a long way from looking anything like the quality camera-lens renders above.
This began my investigation into quality reflection map creation which led me to
Marmoset Skyshop for Unity. Marmoset make a fantastic set of shaders for Unity 4.5 and up that aim to mimic the energy-conserving properties of a surface and also provide a really good introduction to physically based rendering. I highly recommend reading their
Toolbag2 Learning pages if you don't know where to start. Turns out, realtime rendering and offline rendering have a much larger overlap than I assumed with next-gen game engines requiring the understanding of BRDF functions and forcing artists to re-consider albedo [diffuse] and specular maps entirely differently than the past 20 years.
 |
| A little learning goes a long way in improving material appearance. |
It seems each time I want to improve the appearance of my scene with Unity's rendering capabilities, I end up trawling the Unity Asset Store looking for 3rd party solutions. And there are a few real gems. However, with the imminent release of Unity5 and it's reflection probes, realtime GI, and new super shaders, is it worth spending any money to gain these abilities now? Perhaps not.
So my choices at this point are begin transitioning my project to Unity5's beta [which I have access to], or pay money to buy solutions that give me these effects now in 4.5 but may or may not be supported or required going forward...
For now I chose to apply what I've learnt to with what I have. PBR theory has really helped me get better results with the current shader controls - for example the leather texture below has baked-in cracks and grain, breaking up the reflections and giving the couch top appearance a much better feel:
 |
| Complete with hand sculpted bum impressions. |
I'll make the jump to a proper PBR version of this scene as Unity5's tech releases. In the meantime I've started light-mapping the room's illumination to get better ambient occlusion and mood. The viewing couch is modelled and in place and some new shaders created.
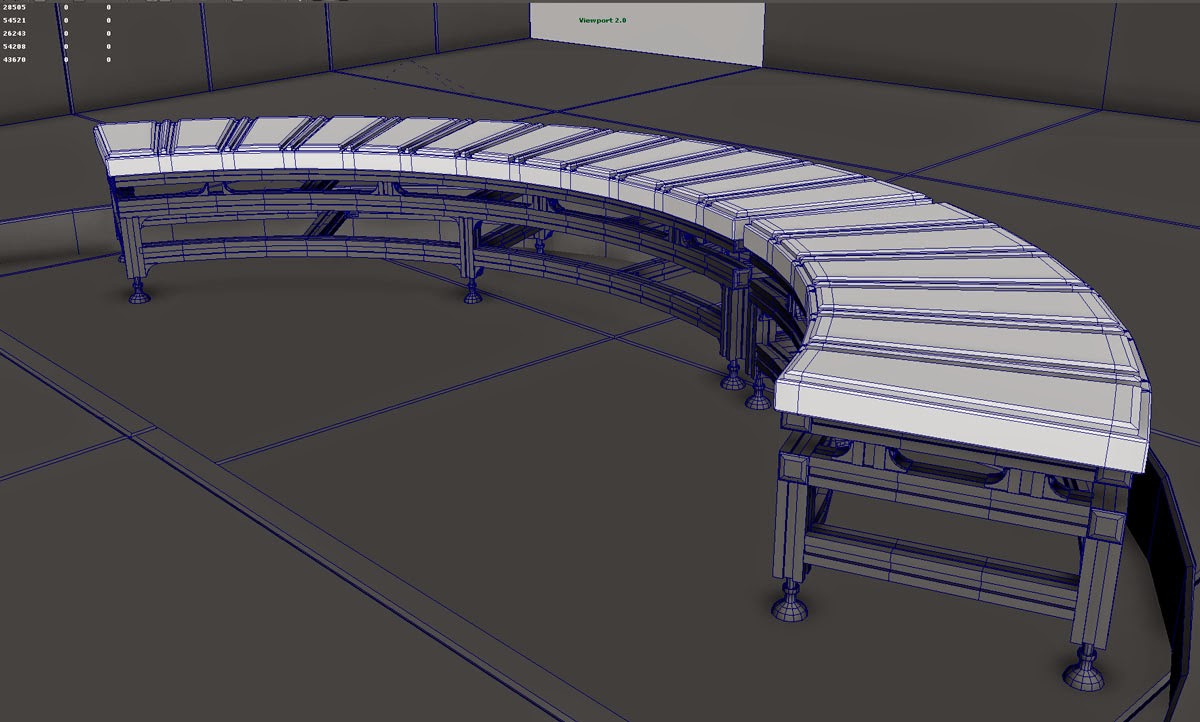 |
| A fun model to make with curved metals and a low-ish polycount. |
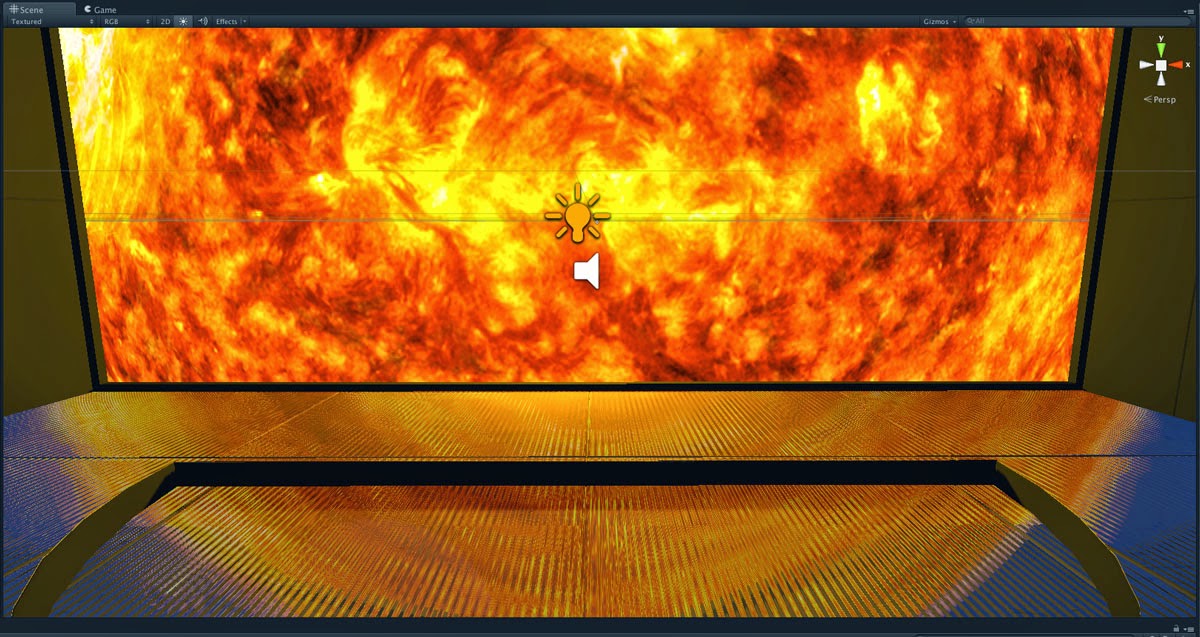
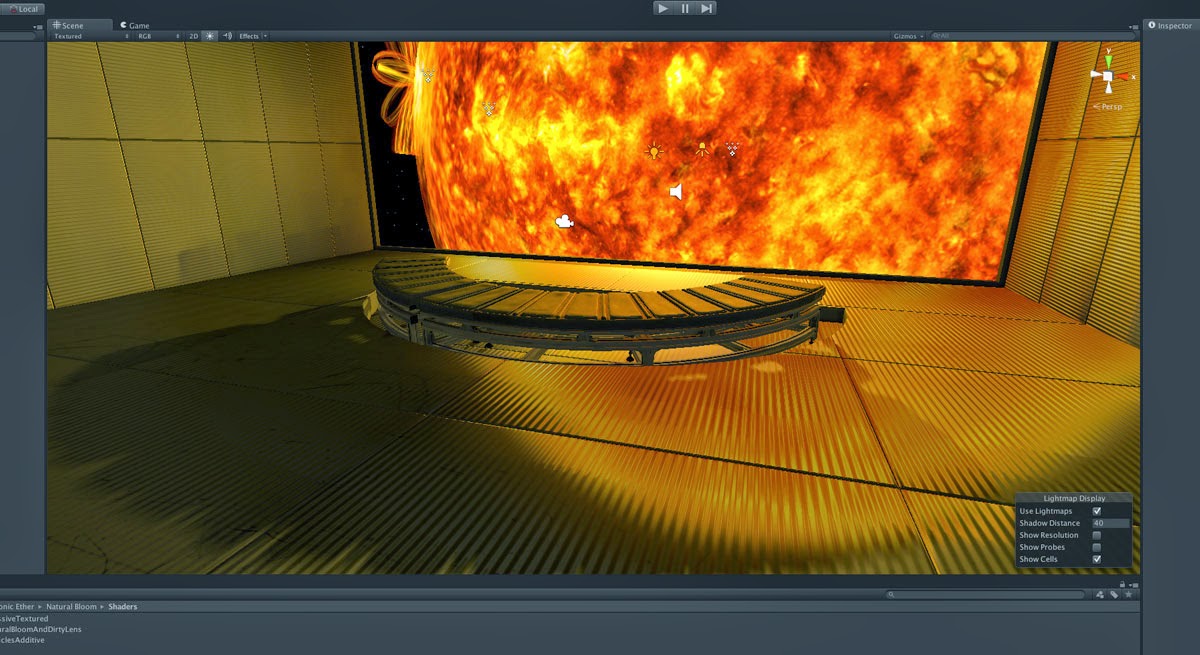 |
| Where O where art thine couch reflections in the floor??? |
With my current reflection mapping approach, things don't really line up properly as the virtual surfaces that the reflections are mapped to are actually situated an infinite distance away. Thus you can see the sun reflection on the floor screen-left is actually present where the wall reflections should be appearing. This requires a technique known as parallax-correction - something that Marmoset has an excellent solution for, and the fantastic Sebastien Lagarde documents on his blog here. I'm not sure I'll implement a solution for that as there are other things I'd like to move onto in this project.
Optically in the Rift view I've got a new starfield in the background [I realise exposure-wise that stars would likely be well under the sun's brightness and thus invisible, but you know, VR!], some sun shafts creating beams of light, some dust motes floating in the room for a little atmosphere [after playing Alien:Isolation in VR I couldn't help it - the modelling and lighting in that game is a masterpiece!] and a few other tweaks in store.
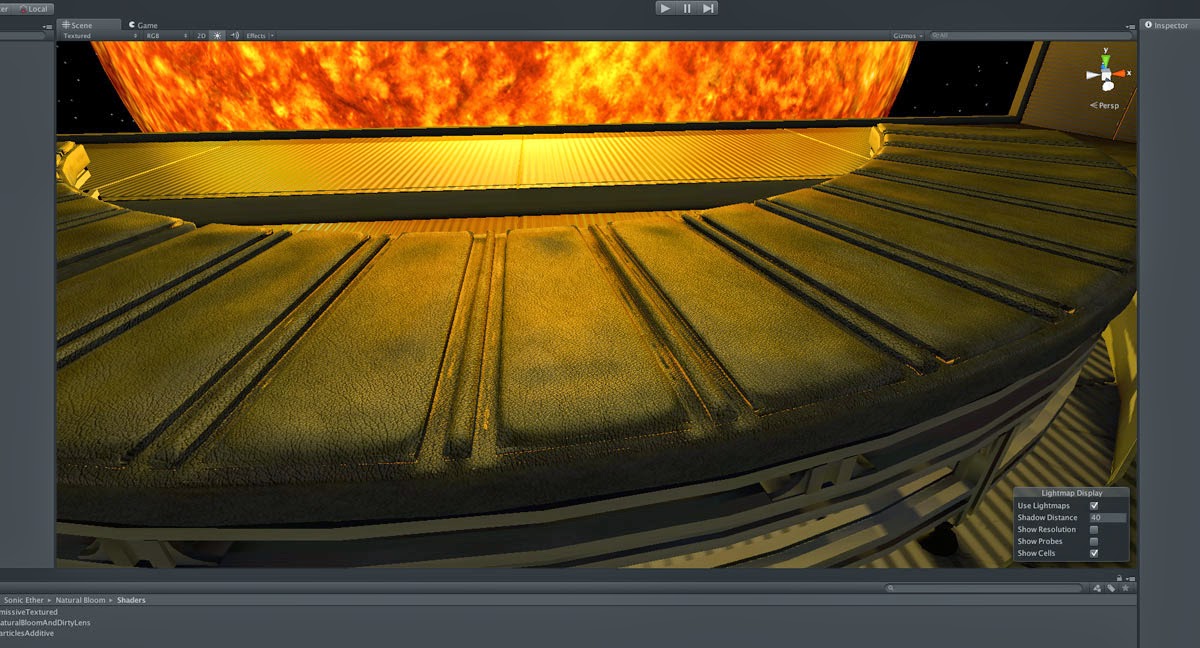
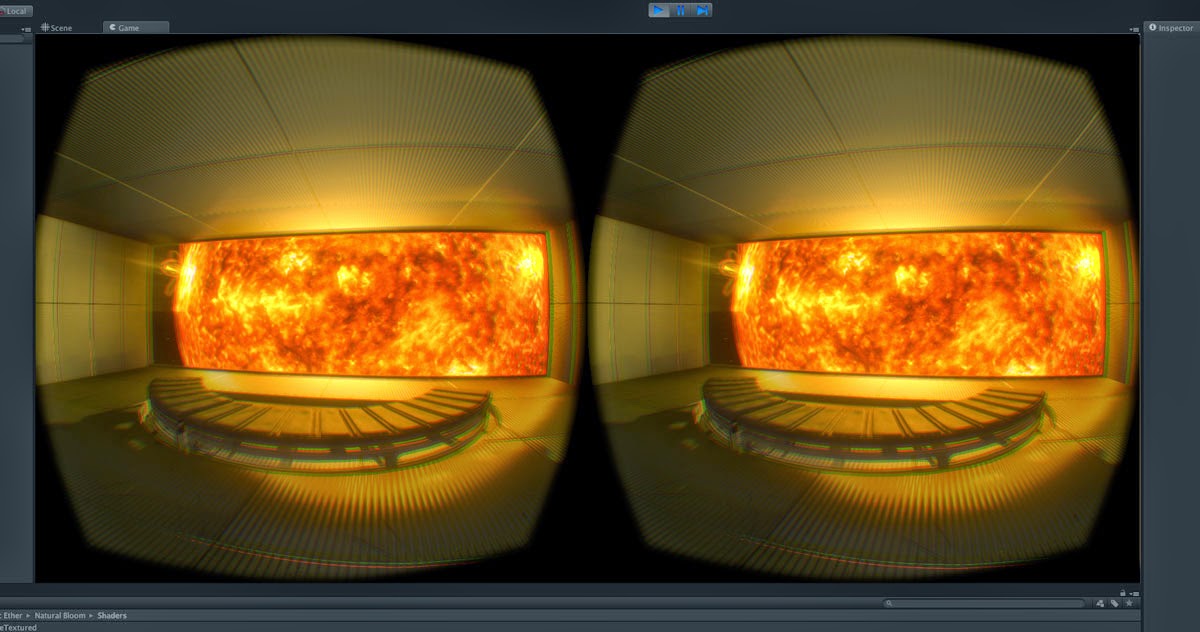 |
| It's a place you can go and just sit and look at the sun. |
Still hitting 75fps no problem at all in OSX and Win7 so I'm not really near the limits of my GeForce 680MX yet. Speaking of which, the current OVR 4.3.1 runtime and Unity integration produce rock-solid head-tracking in Windows and it's kinda stunning. OSX is still a little swimmy. Getting close to producing a youtube clip [maybe 60fps?] for people to try out too.
I'll wrap this up now, but next post I want to detail what I've found out about timewarping, prediction alpha transparency, forward rendering Vs. deferred rendering and the Unity Pro Profiler, and of course some scene updates.
Looking for where this began? Click here to visit the beginning.
So long for now!
-j


